Live chat
Chat with a real employee, and we’ll walk you through everything.


Google Pixel
Add a travel SIM to your phone in 90 seconds, connect to fast internet as soon as you arrive, and use it on every trip.

After you’ve bought a data plan, go to ‘My eSIMs’ to add this eSIM to your Google Pixel.
Begin installation

You need a strong Wi-Fi connection

Make sure your device is eSIM compatible
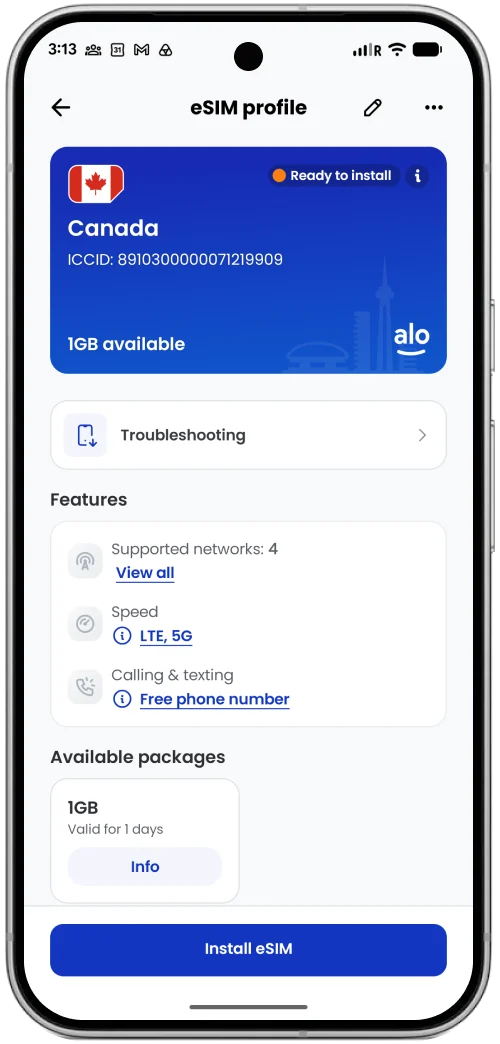
Log into aloSIM app
Go to My eSIMs
Select your eSIM
Tap Install eSIM
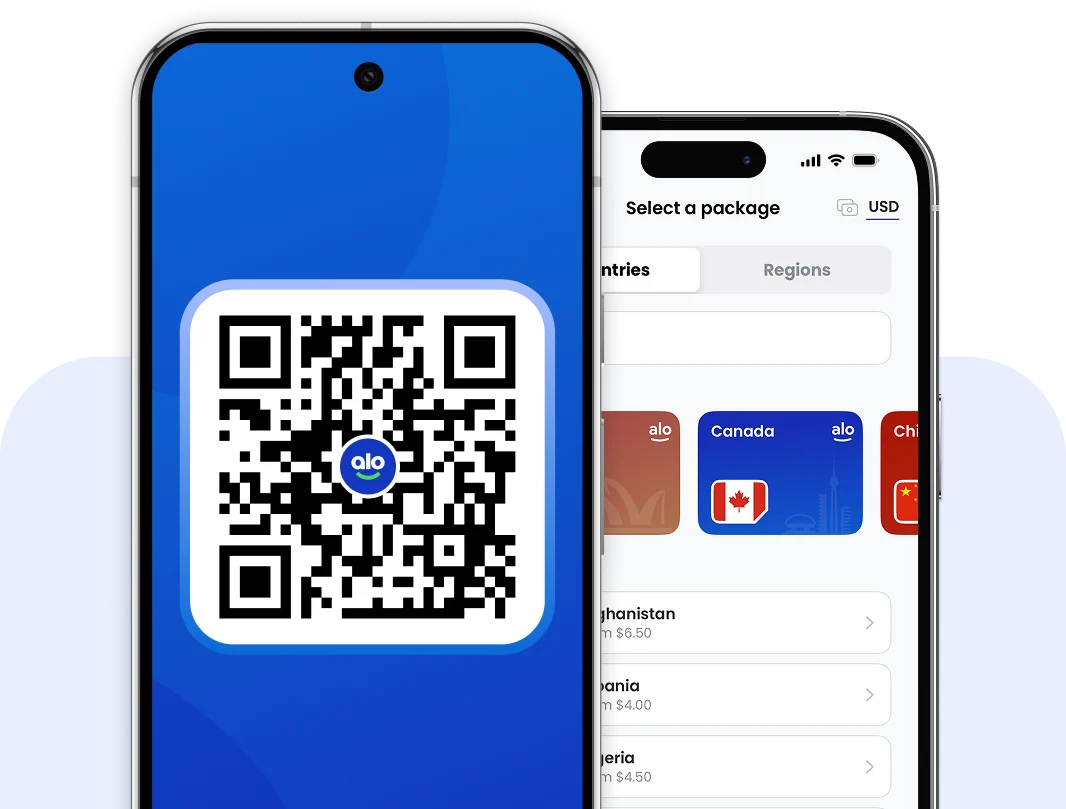
Other ways to install: QR Code installation or manual installation.
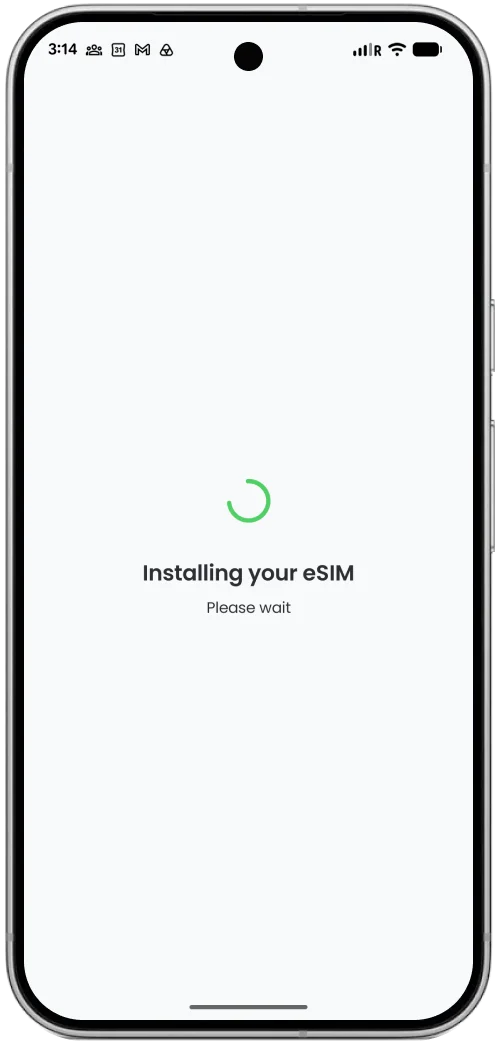
You can install your eSIM days or weeks before travelling. Nothing will activate yet.
We’ll add your eSIM to your phone, and bring you back into the aloSIM app once the installation is complete.
Optional: Label your travel eSIM so you can easily identify it later – for example “USA trip” or “South Africa (Mom’s iPhone)”
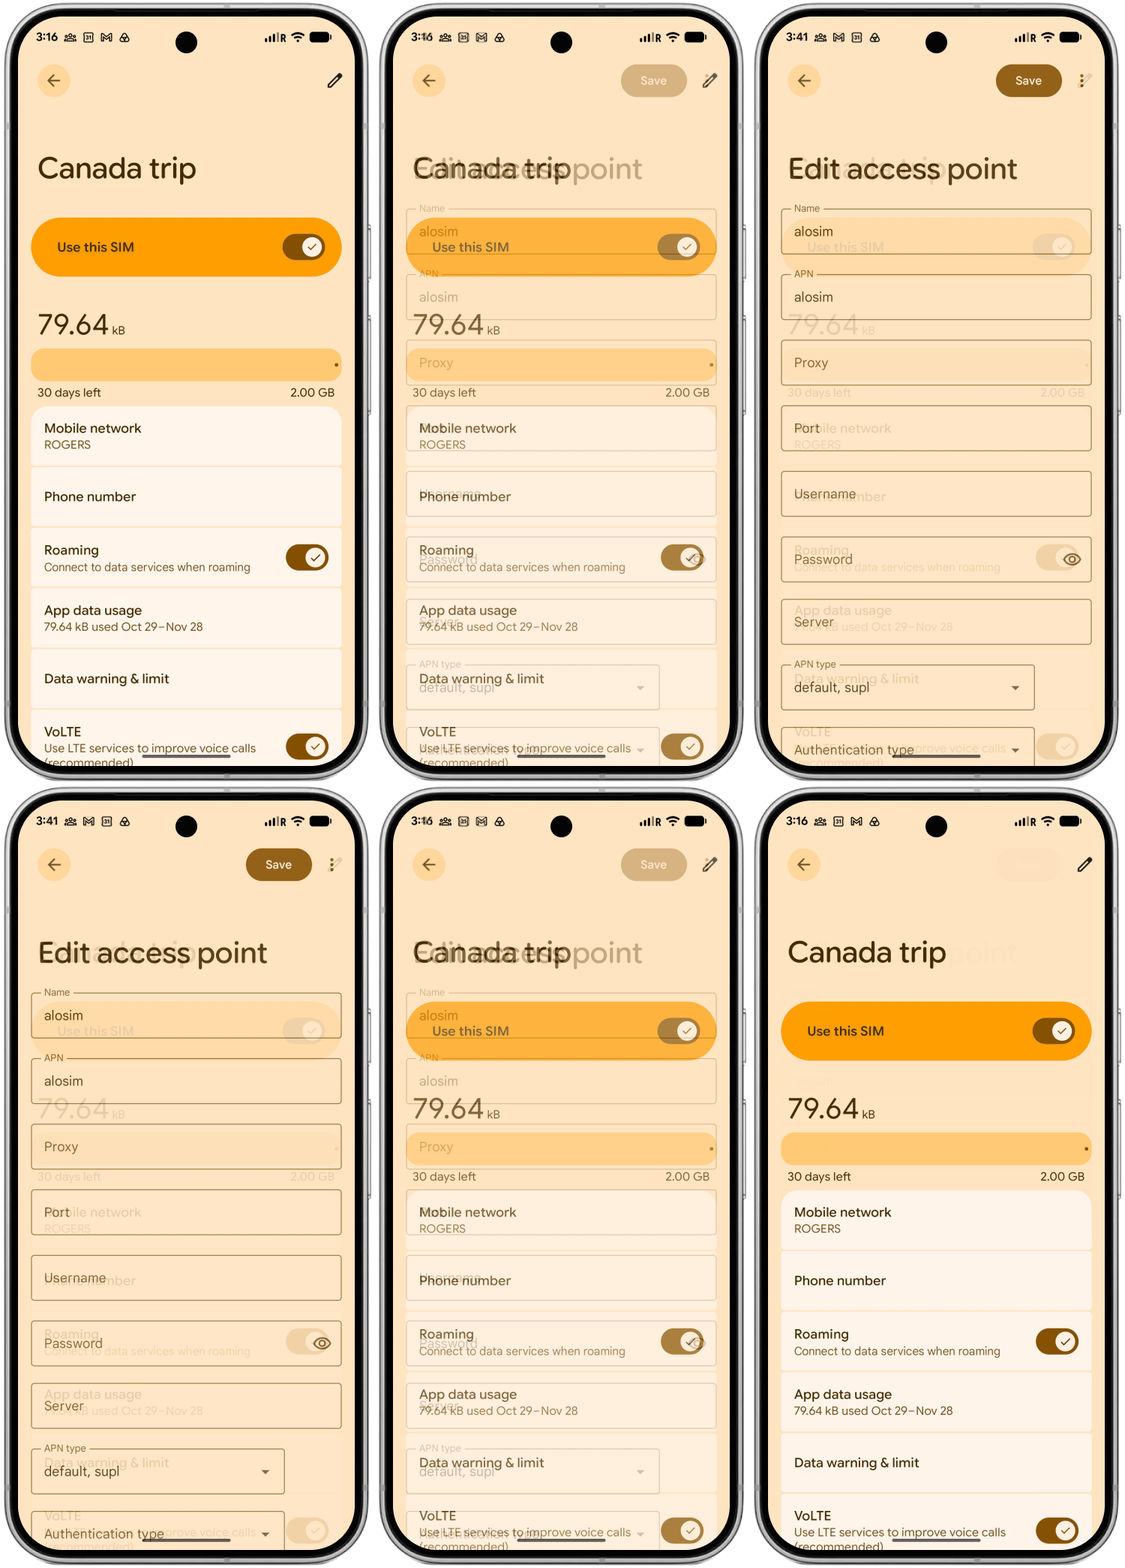
Go to ‘Settings’ then ‘Network & internet’ and ‘SIMs’
Select your eSIM and toggle it on
Make sure ‘Mobile data’ is toggled on
Tap your eSIM, and make sure ‘Roaming’ is toggled on
Scroll down to ‘Access Point Names’ and make sure the selected one has ‘alosim‘ in the Name and APN fields.
Travelling today? Your eSIM should connect when you arrive. Leaving another day? Wait to do these steps until you’re travelling.
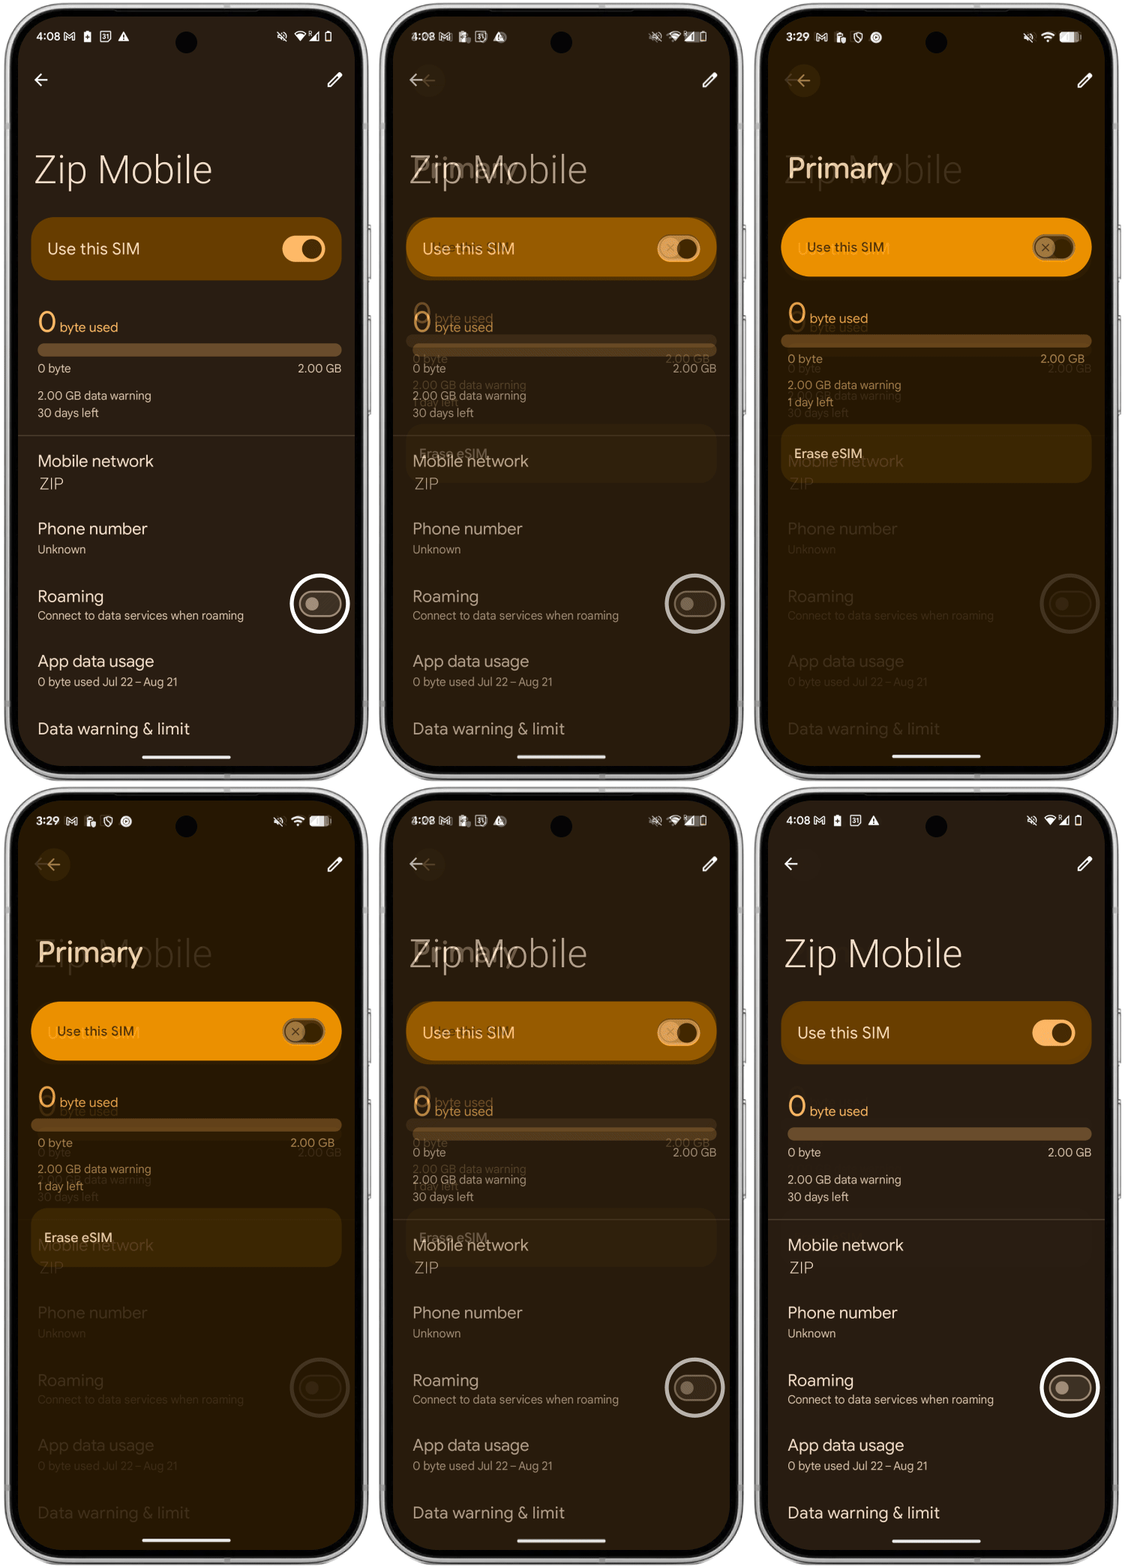
Your regular phone carrier may try to charge you roaming fees for data (internet), phone calls, and texts while you’re in another country.
Before you go, pick one of the following options:
Toggle off ‘Roaming’ on your primary SIM. This prevents it from using internet. Carrier fees may apply for calls and texts.
Toggle off your primary SIM completely. No data, calls, or texts. There won’t be any surprise charges on your next carrier bill.
Google Pixels need the correct APN setting to deliver the fastest possible internet. Your APN should say ‘alosim’ in the Name and APN fields. Learn more.
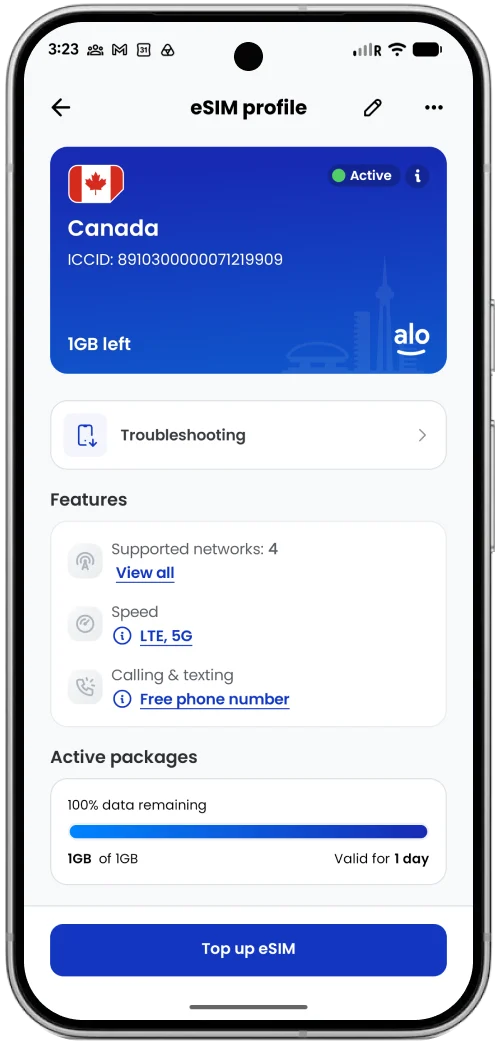
Once you land, toggle off ‘Airplane Mode’
Wait 1–2 minutes for it to connect
Check My eSIMs in the aloSIM app – your eSIM should show ‘Active’
You’re connected – enjoy fast local data for your trip
Need more data? Go to My eSIMs, select your eSIM, and tap Top up to add another data package.

We’ll give you a free international number for calling and texting anywhere in the world while you’re away.

Let’s answer your questions about using an eSIM for your upcoming trip.

We recommend installing your eSIM right a few days before you leave for your trip, when you’re at home with a strong Wi-Fi connection. Your data package won’t start working until you arrive at your destination.

Before you leave home
If your plan is for an upcoming trip, install it while you’re still home so you can have internet the moment you arrive.

Already travelling
You can also install after you arrive, and start using your data right away. Just make sure you have Wi-Fi to install it.

Yes! If your phone has dual SIM capabilities, you can use your regular SIM and your aloSIM eSIM at the same time.

Keep your number for calls and texts
You can keep your regular number active for calls and texts, while using your aloSIM eSIM for mobile data (internet).

Check your carrier’s roaming rates
Ask your regular phone carrier that they charge for calls and texts that happen in another country, so you avoid a surprise bill.

Our team is available 24 hours a day
Most Google Pixel phones from the Pixel 3 onward support eSIM, including the “a” models. Your Pixel must also be carrier-unlocked. To check, tap ‘Settings’ then ‘Network & internet,’ then ‘SIMs.’ If you see ‘Add SIM’ with an eSIM option, you’re good to go.
You’ll need internet for this step, so connect to Wi-Fi. Open your aloSIM app, tap ‘My eSIMs,’ then select the eSIM you wish to install. Tap ‘Install eSIM’ and it will automatically add this eSIM to your Google Pixel in under 60 seconds.
Right before your trip, on your Google Pixel, tap ‘Settings’ then ‘Network & internet,’ then ‘SIMs.’ Tap your aloSIM eSIM and turn on ‘Use this SIM,’ ‘Mobile data,’ and ‘Roaming.’ When you land, turn off Airplane Mode. Your eSIM will automatically connect to a local network.
If you see this error message, it might mean there is an issue with the local network. Please email support@alosim.com with a screenshot of what’s happening, or start a live chat to speak with us 24/7.
Yes. Turn roaming ON for your aloSIM eSIM and OFF for your regular SIM. On your Google Pixel, tap ‘Settings’ then ‘Network & internet,’ then ‘SIMs,’ to adjust your roaming settings.
On your Google Pixel, tap ‘Settings’ then ‘Network & internet,’ then ‘SIMs.’ Tap your aloSIM eSIM and turn on ‘Mobile data.’ Then tap your regular SIM and turn its ‘Mobile data’ off. Keep your regular SIM switched on so you can still get calls and texts.
Yes. Your Pixel can run your regular SIM and your aloSIM eSIM at the same time. Use aloSIM for data while keeping your usual number for calls and texts. To choose which SIM does what, on your Google Pixel, tap ‘Settings’ then ‘Network & internet,’ then ‘SIMs.’
First, make sure Airplane Mode is off. On your Google Pixel, tap ‘Settings’ then ‘Network & internet,’ then ‘SIMs.’
Tap your aloSIM eSIM and check that ‘Mobile data’ and ‘Roaming’ are both on.
If it still won’t connect, tap ‘Access Point Names’ and make sure the APN is set to ‘alosim’ (in both Name and APN fields), then restart your phone.
Our friendly team is available 24 hours a day.


Chat with a real employee, and we’ll walk you through everything.


Send us the details, and we’ll get back to you in minutes.


If you have questions, we’ve got all the answers available to browse.
Choose your phone or tablet, and we’ll walk you through how to install your travel eSIM.

Installation guide for iOS and iPad devices.

Installation guide for Samsung devices.

Installation guide for Google Pixel devices.



4.6 average rating (28,531+ reviews