How to install a Google Pixel eSIM
Put a digital SIM on your Google Pixel
Get instant mobile data in 170+ countries
When do I install my eSIM on my Google Pixel?
Always make sure to install your Google Pixel eSIM when you have a strong Wi-Fi or data connection to avoid installation errors. (We never want anyone stuck without no data connection because they can’t install their eSIM over bad Wi-Fi.)
If you’ve bought a Google Pixel eSIM to use a prepaid data package on an upcoming international trip, we recommend you install your eSIM while you’re still at home so you can make sure it’s installed correctly before you leave the country.
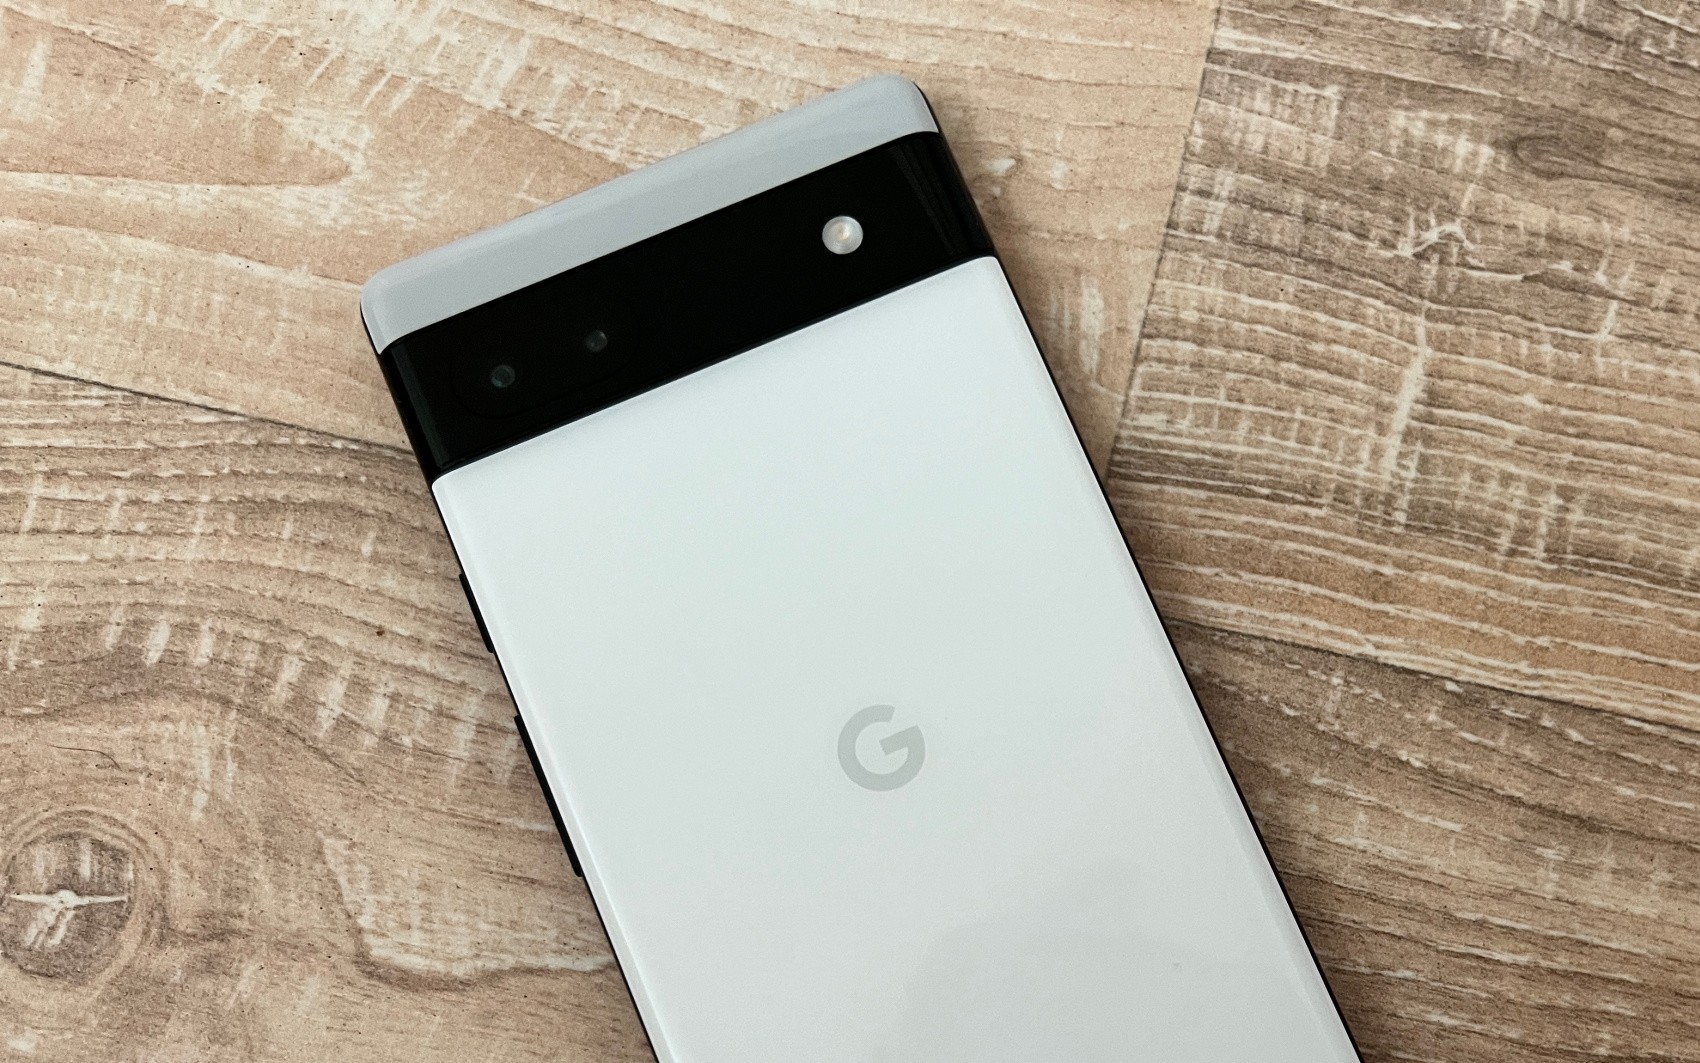
What if I’m already travelling?
No problem! You can also install your Google Pixel eSIM when you’re already travelling internationally and you want to begin using eSIM data right away.
Just make sure you have a decent Wi-Fi or data connection while you install your Google Pixel eSIM (instructions below) so the process isn’t interrupted, because it’s better to just do it once and have it work.

Will my data package activate as soon as I install my Google Pixel eSIM?
Nope! eSIM installation is different from data package activation. If you’ve bought an eSIM data package for another country and you’re installing your eSIM while you’re still at home, your Google Pixel won’t be able to reach any of those networks, so there’s no risk of your data package activating automatically.
If you’ve bought an eSIM data package for the country you’re currently in, your Google Pixel still isn’t going to automatically activate your eSIM data package. You need to complete the activation steps before it can connect to a supported network.

Prefer to watch video instructions on how to install a Google Pixel eSIM?
Great! You can watch a five-minute video that walks through every step of installing your eSIM on a Google Pixel device, how to avoid roaming charges, how to call and text on vacation, and how to connect to data networks using your eSIM.
Watch the video

How to install your Google Pixel eSIM from aloSIM
After you’ve purchased a eSIM data package from aloSIM, you will install your eSIM (digital SIM card) on your Google Pixel so it’s ready when you need it.
It’s best to install your Google Pixel eSIM while you have a strong Wi-Fi or data connection, so you can do this while you’re still at home (before travelling).

Open aloSIM and choose your eSIM
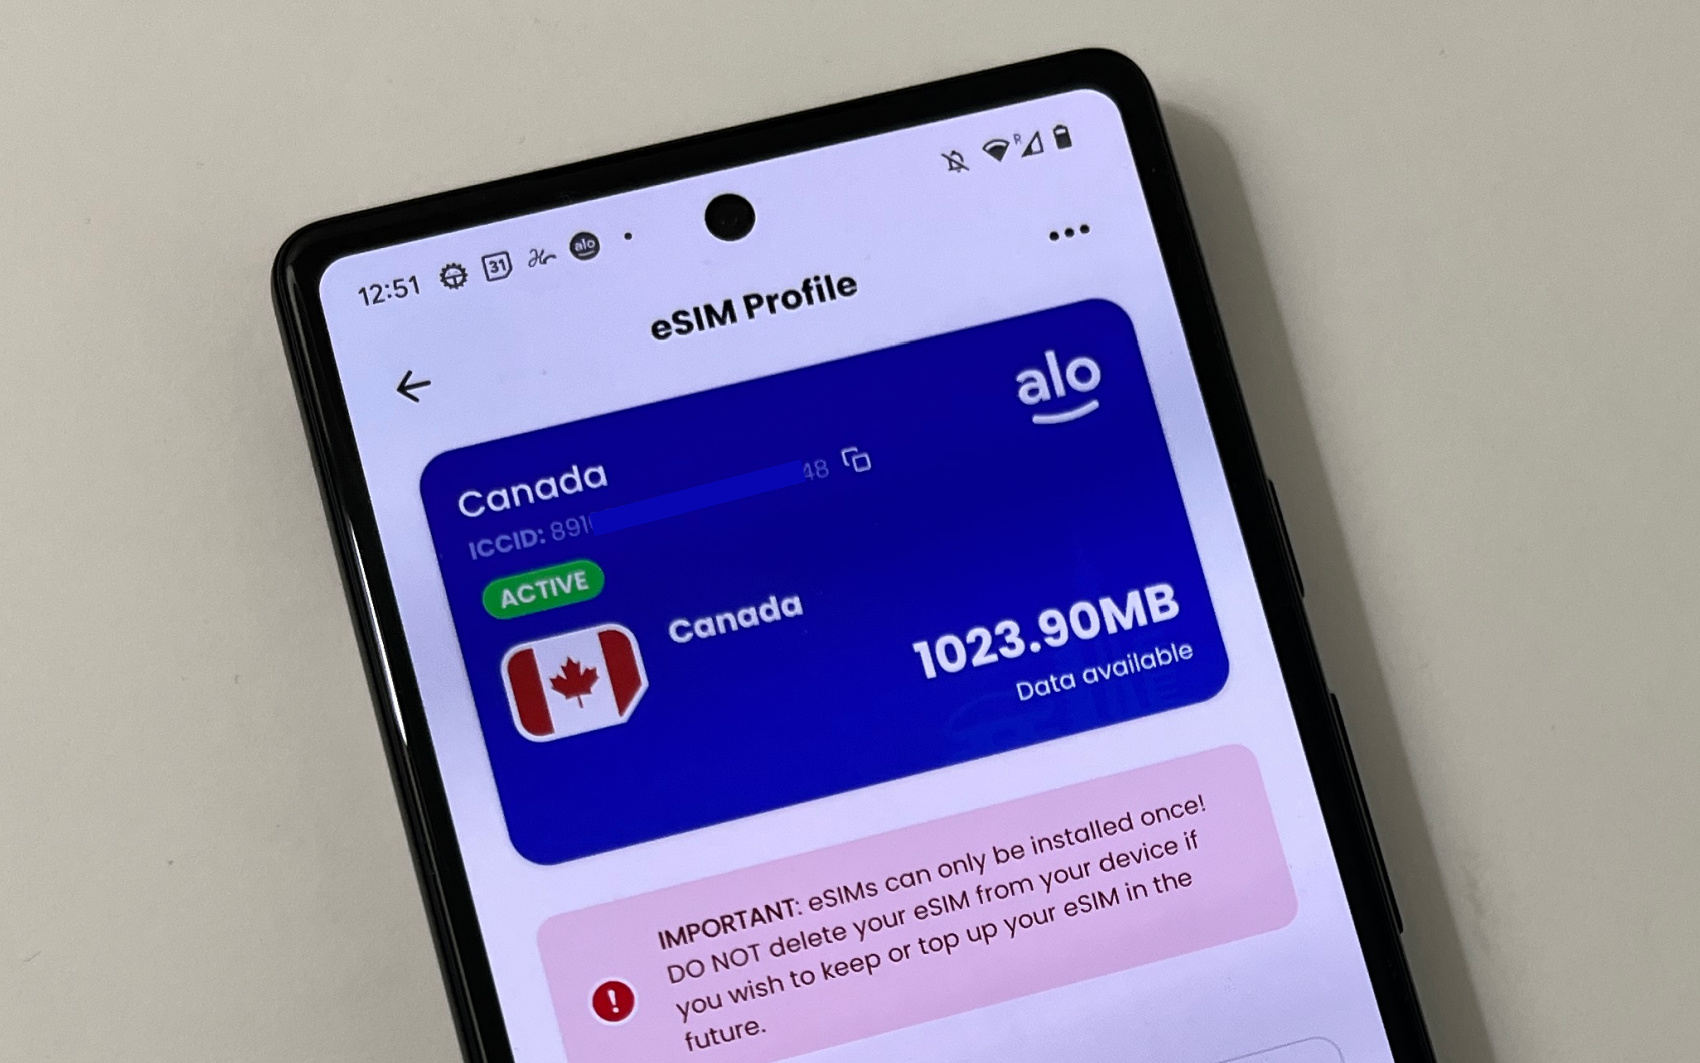
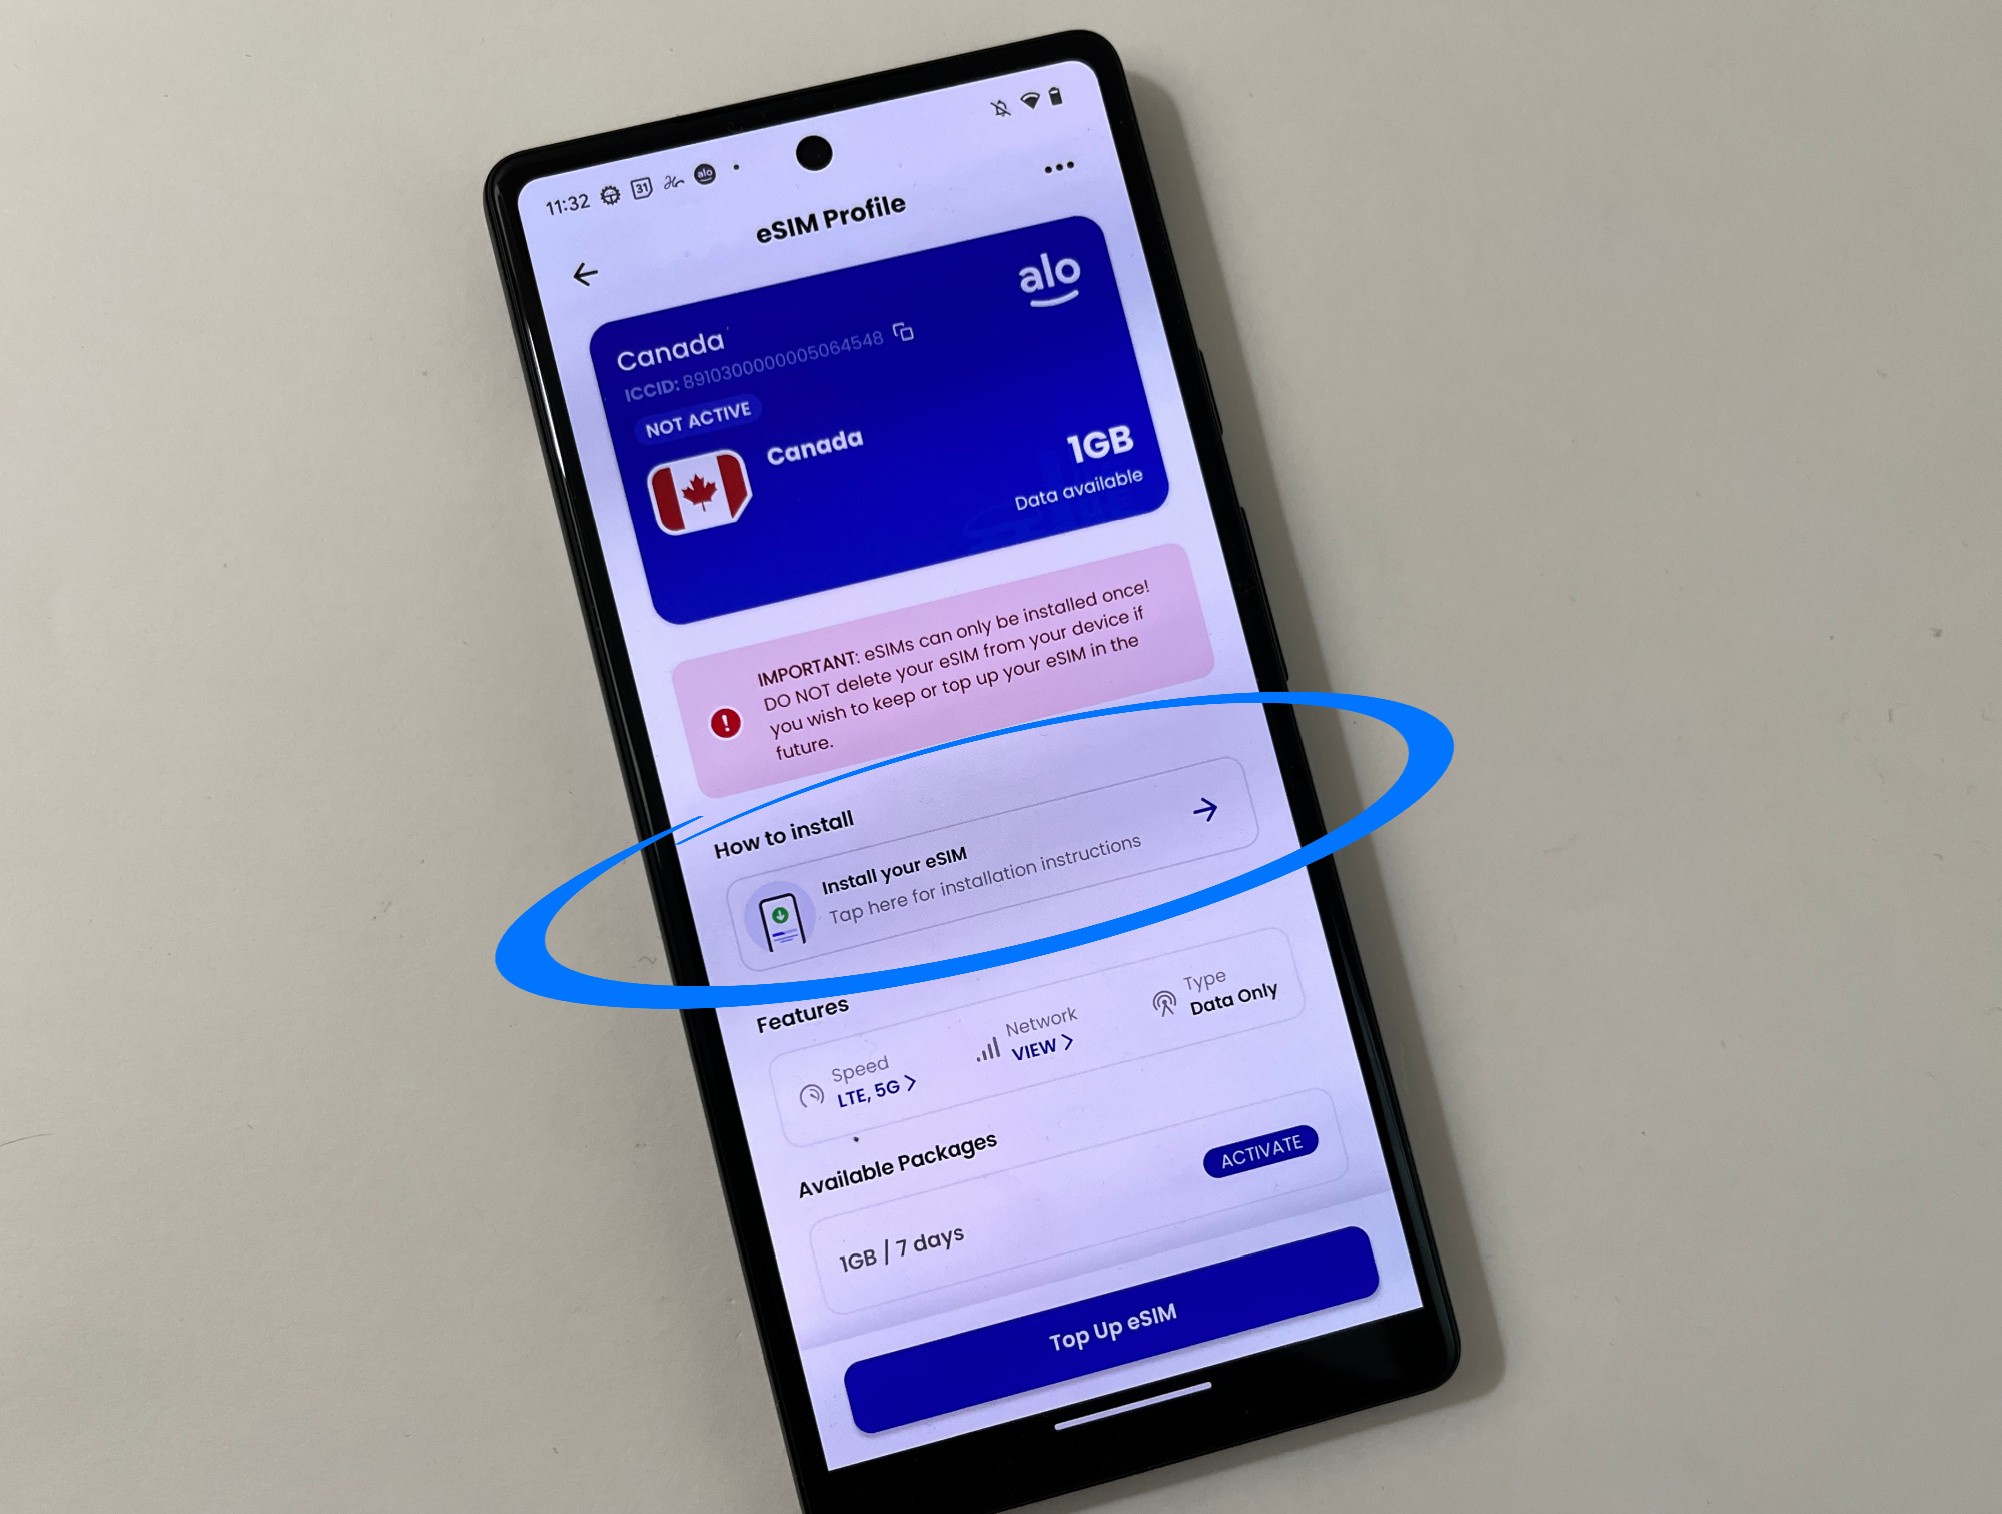
Open your aloSIM app and log in (or log into your account on your Google Pixel by visiting alosim.com). Then choose “My eSIMs” in the bottom menu, select the eSIM you wish to install, and select “Install Your eSIM.”
Log into aloSIM > Select “My eSIMs” > Select the eSIM you want to install > Select “Install your eSIM”

Choose an eSIM installation method
As a Google Pixel user, you’ll see two eSIM installation methods: QR code and Manual. We recommend “QR Code,” where you’ll share your QR to a nearby device so you can scan it in a minute.
Share or screenshot your QR code (or view these instructions for manual eSIM installation)

Go to "Settings" then "Network & internet"
Now it’s time to go into your Google Pixel device settings to install your eSIM. Go to “Settings” and then select “Network & internet,” which is where you manage mobile, Wi-Fi, and hotspot settings.
Go to “Settings” > Select “Network & internet”

Under "SIMs," tap to add a new SIM
Look under “SIMs” or “Mobile Network” and tap to add a new network or SIM. (This might be the device’s first SIM, or you could have existing SIMs already on your device.)
“Settings” > “Network & internet” > “SIMs” > Add a new network

Select "Download a SIM instead"
Your Google Pixel may prompt you to insert a SIM card now, but you’ll want to tap the option below that says “Download a SIM instead.” If it asks to continue or asks for permission to download a SIM, tap “Next” or “Yes” to approve the eSIM installation.
“Settings” > “Network & internet” > “SIMs” > “Download a SIM instead” > Approve the eSIM installation

If prompted, choose "Use a different network"
Your Google Pixel might ask you to choose the network of your new SIM. (It’s assuming you’re standing in a retail store, setting up a brand-new phone for the first time.) Instead of choosing a network, scroll down to the bottom and select “Use a different network.”
If prompted to choose a network, scroll down and tap “Use a different network.”

You may be asked to use 2 SIMs
Depending on whether or not your device already has an existing SIM, your Google Pixel may ask if you would like to have 2 active SIMs, or continue using just 1 SIM at a time.
If you plan on using aloSIM right away, tap “Yes.”
If you won’t be using aloSIM yet, tap “No thanks.”

Scan your QR code off another device
Remember earlier, when you shared your QR code to another device? Well, now’s the time to scan that QR code and confirm you want to download the eSIM from aloSIM.
Scan your aloSIM QR code from another device (it’s in your aloSIM app under “My eSIMs” if you select “Install Your eSIM)

Your aloSIM eSIM is now downloading and installing on your Google Pixel
Enjoy Google’s little animated doodles while your eSIM is downloaded and installed onto your Google Pixel. As the message says, it may take a few minutes.
Wait while your Google Pixel eSIM downloads and installs

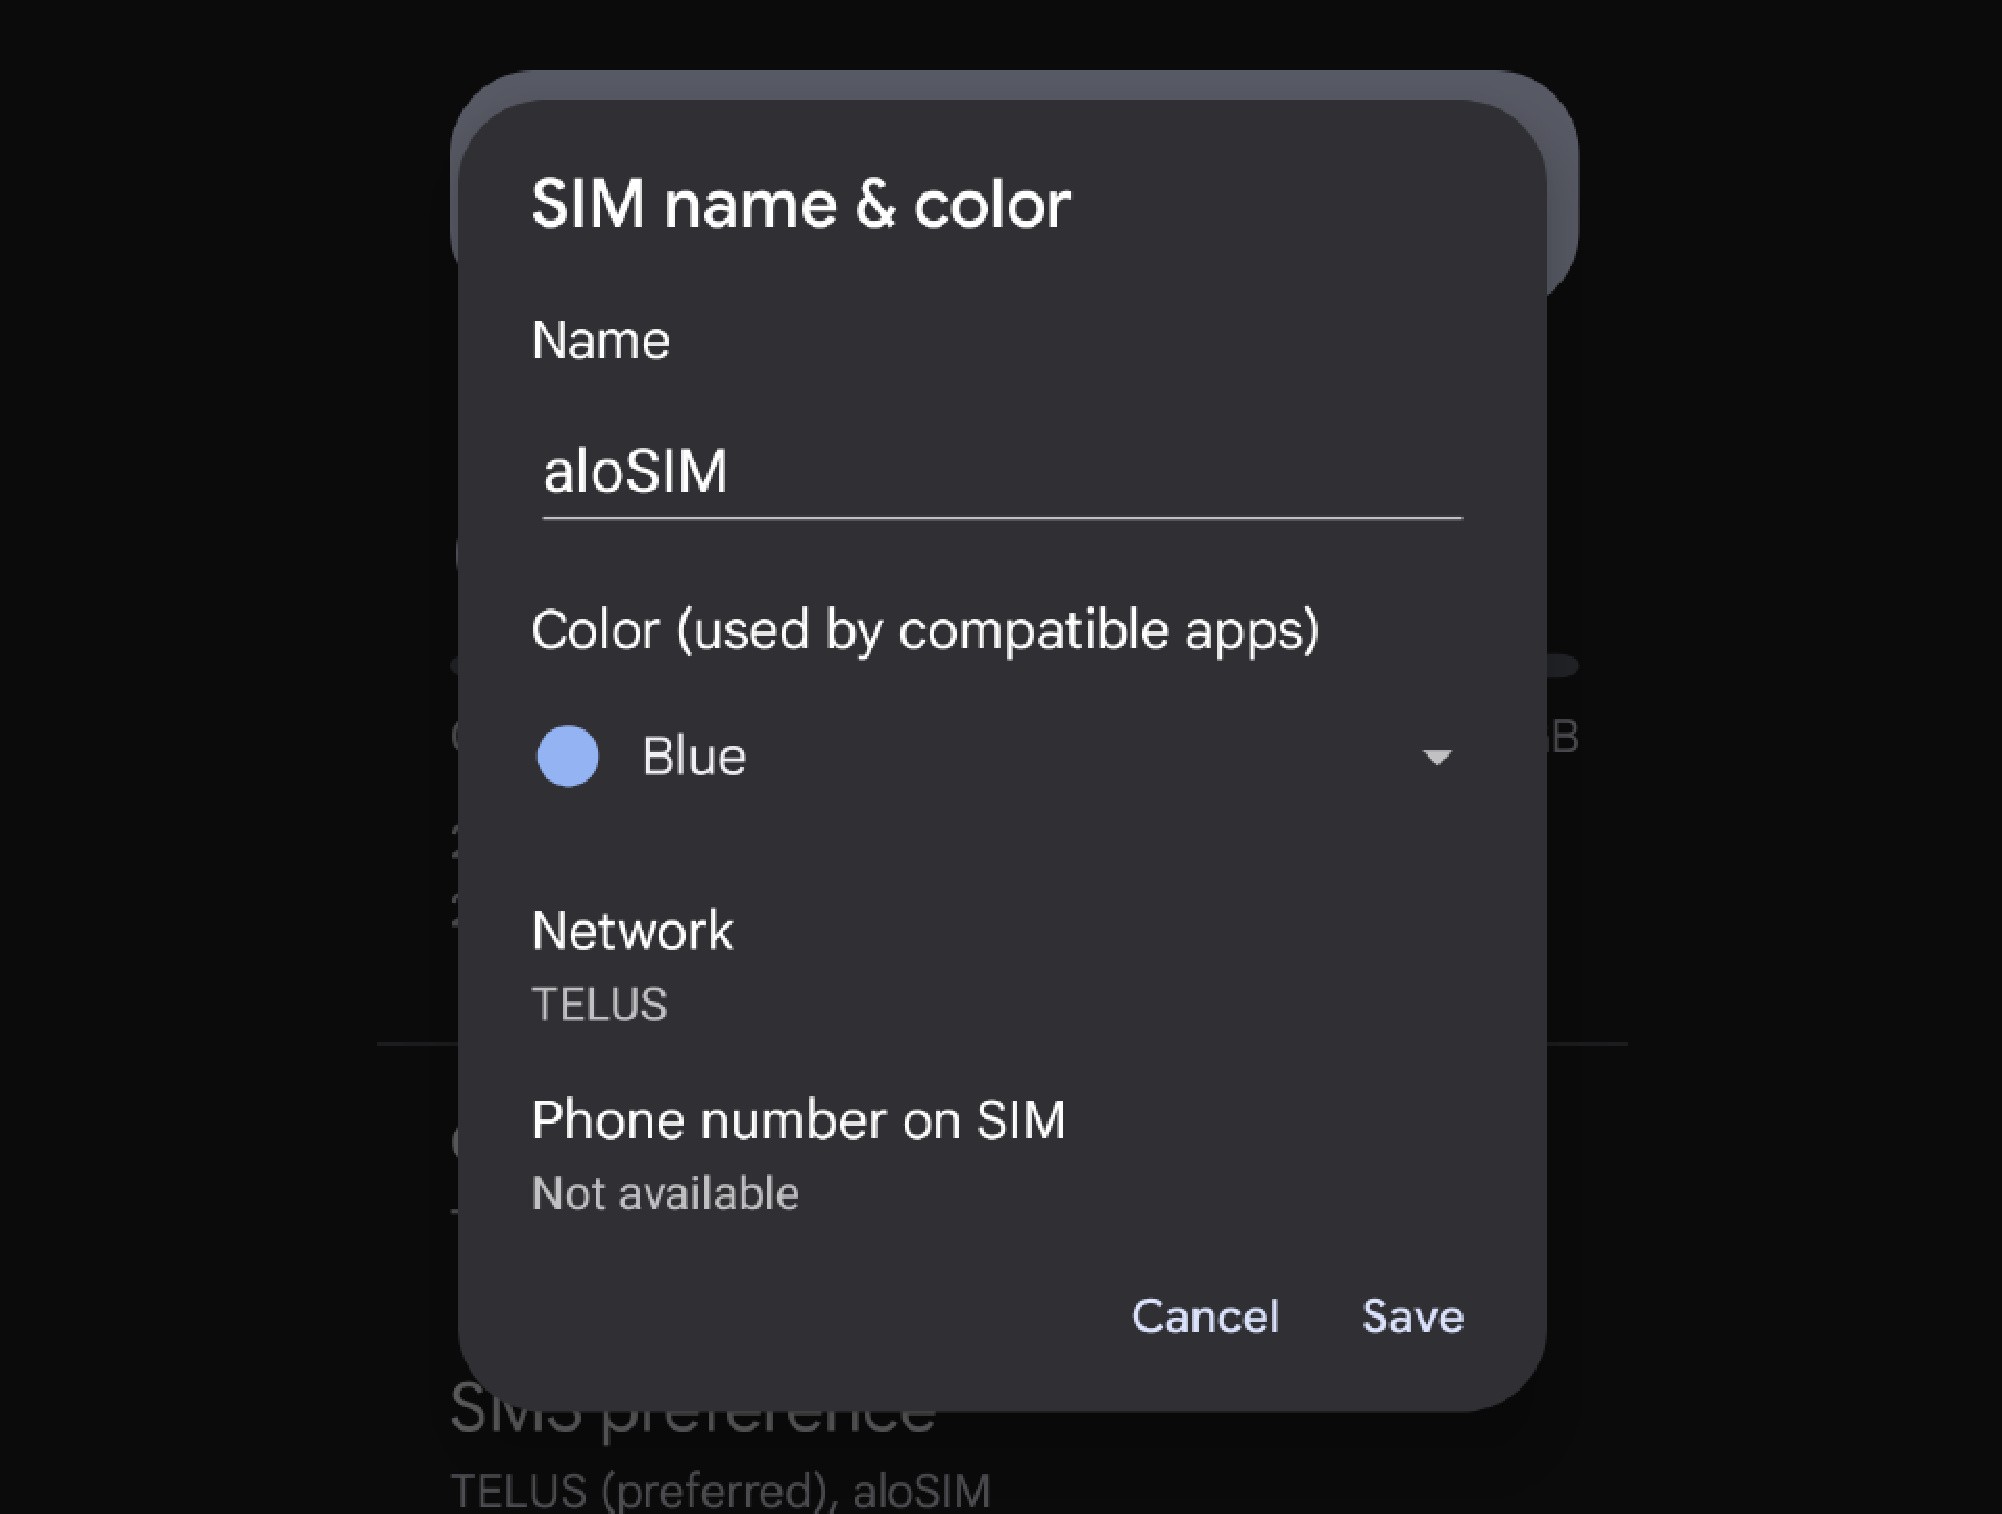
You may be asked to name your eSIM
Depending on your Google Pixel model, you may be asked if you want to name your eSIM. This is helpful if you plan on having multiple eSIMs installed on your Google Pixel, so can easily tell them apart.
RECOMMENDED: Name your eSIM
If this option doesn’t appear, that’s fine.

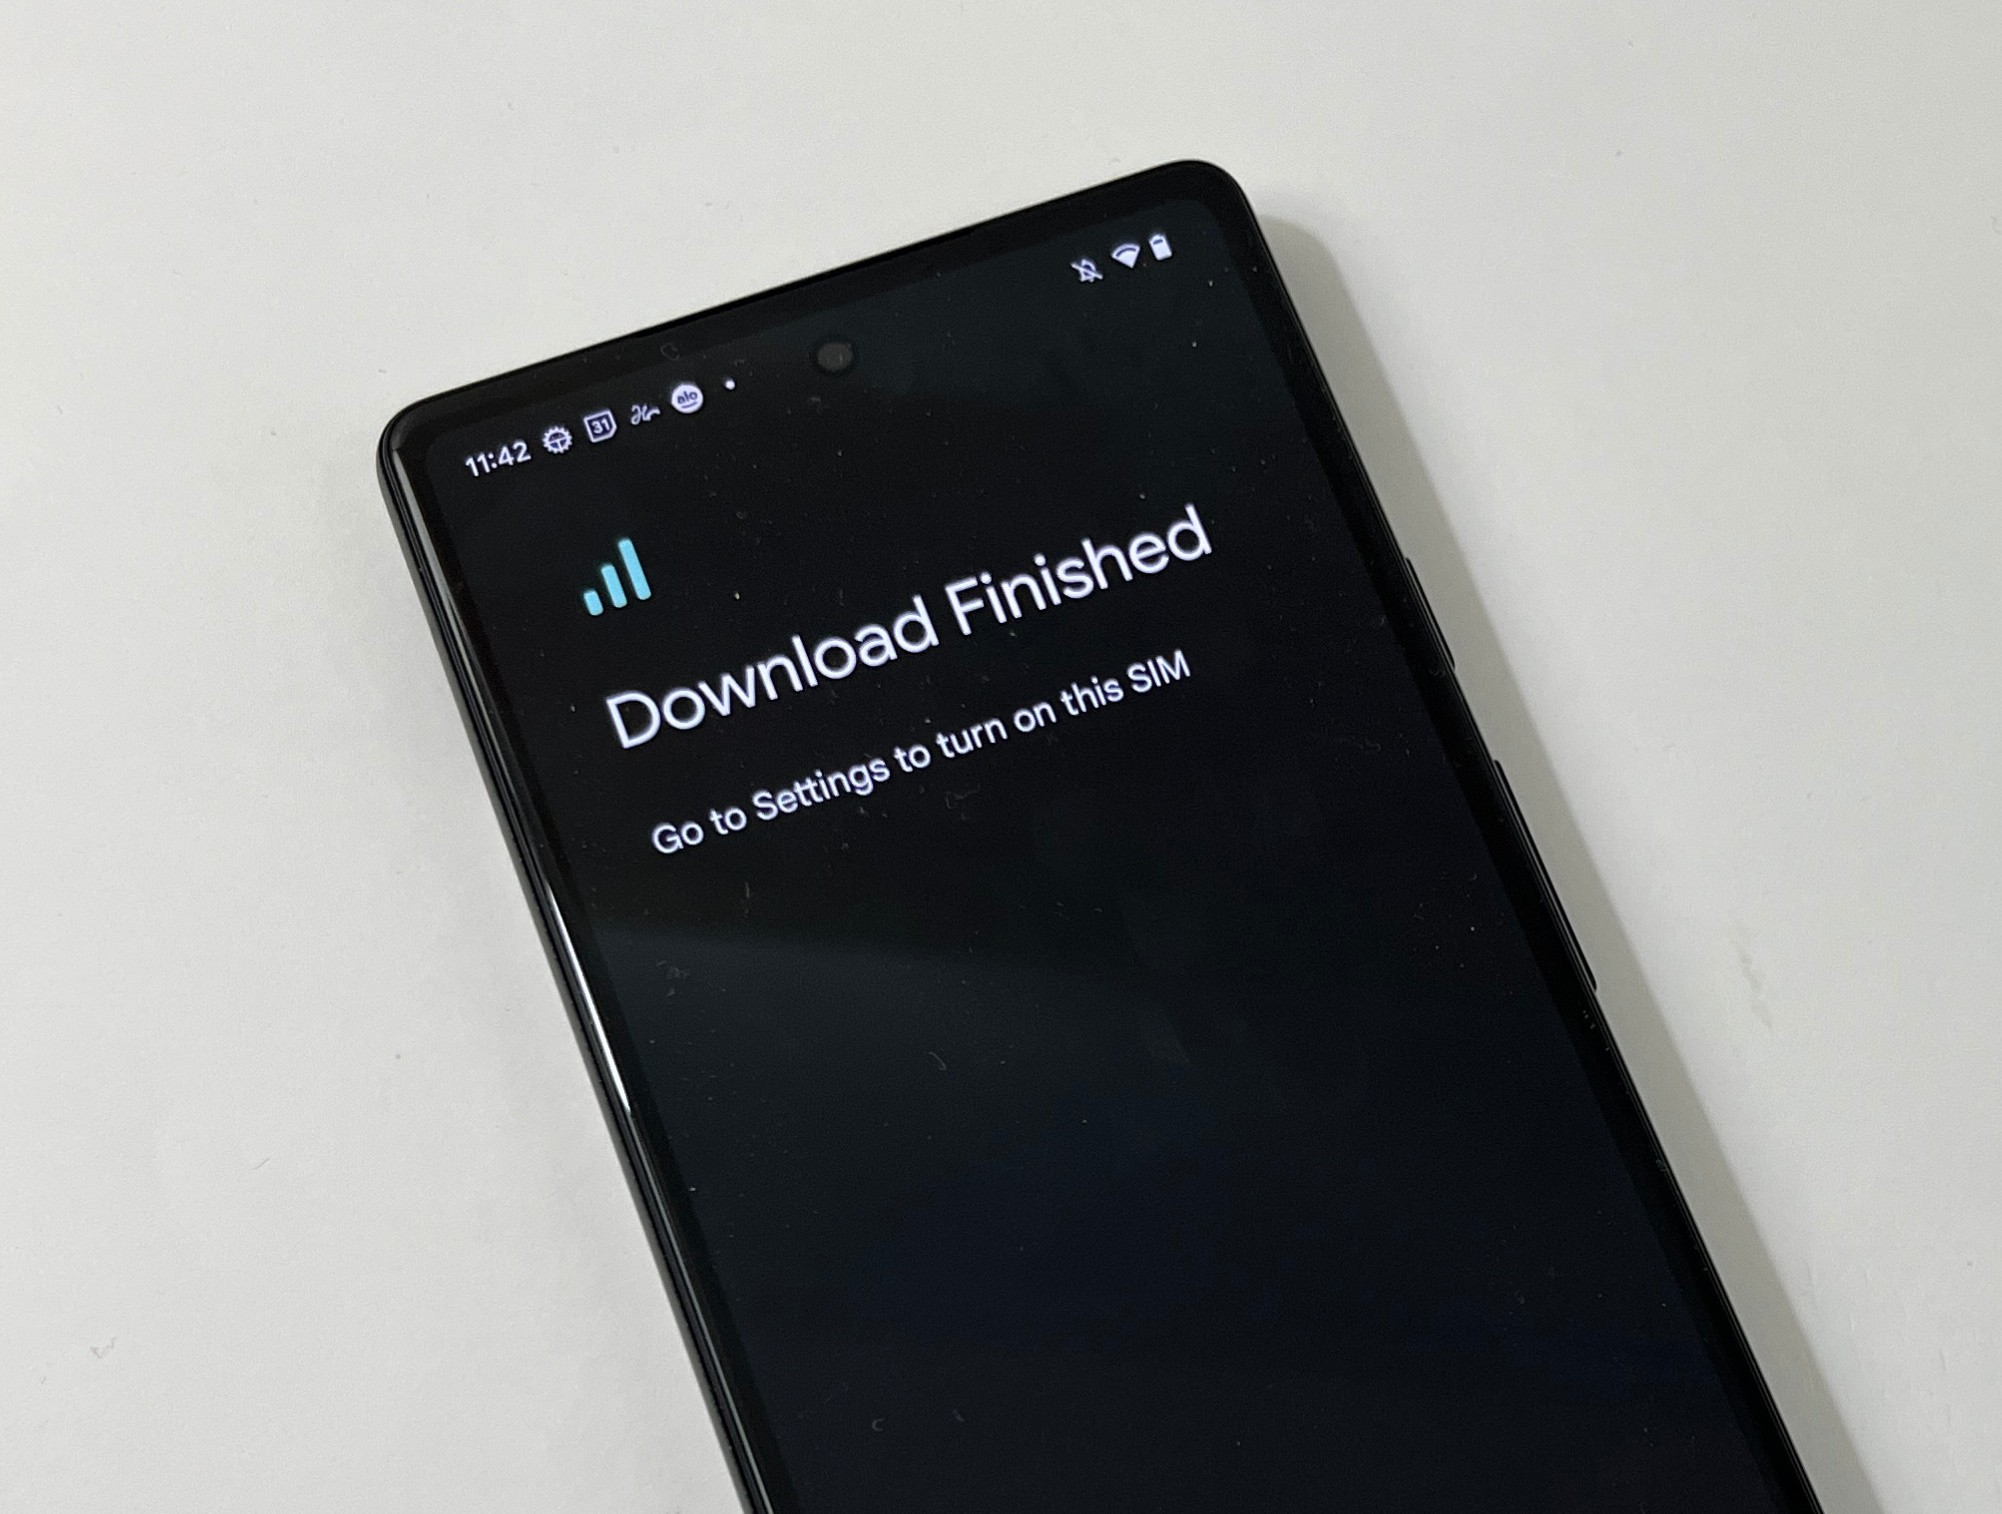
Your Google Pixel eSIM has been installed!
Once your Google Pixel eSIM from aloSIM has finished installing, you’ll probably see a message like this that says “Download Finished,” and tells you to “Go to Settings to turn on this SIM.”
Your eSIM has been successfully installed!

Need help? We're always here!
If you have completed the steps above, but your Google Pixel eSIM didn’t install correctly, please contact aloSIM Support via email (support@alosim.com), in-app chat, or live chat on aloSIM.com.
Need help? aloSIM’s Support team is available 24/7 if you have questions about any part of the Google Pixel eSIM installation process.

Ready to use your new data?
Now that your Google Pixel eSIM has been successfully installed, it’s available for you whenever you’re ready to start using it. If this eSIM is for an international vacation, we’ll show you when (and how) to adjust each of your phone settings.
Need prepaid data for your Google Pixel?
aloSIM has eSIM data packages for 150+ countries
Buy Google Pixel eSIMsQuestions about using eSIM with your Google Pixel?
Our friendly aloSIM Technical Support team is available 24/7 via email (support@alosim.com) and live chat.